Photo Print Sizes in Pixels: 4×6, 5×7, 8×10 and Beyond
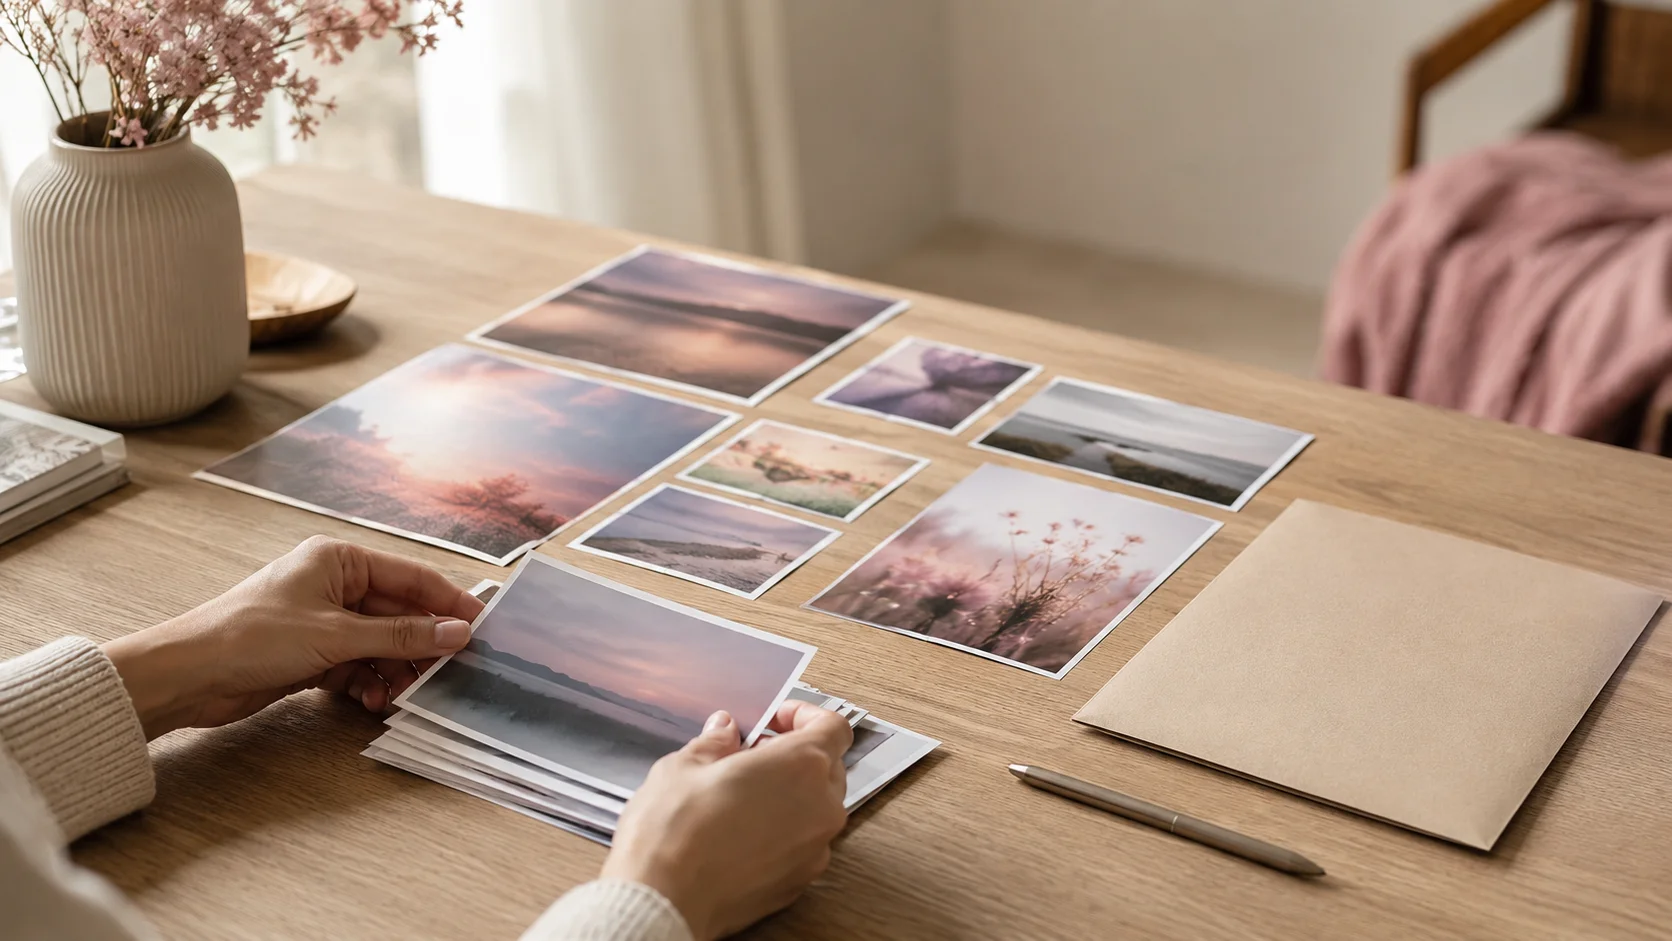
Photo print sizes look simple until your order arrives and someone’s head is missing. The pixel requirements are the easy part, and every chart online will give you those. What almost none of them explain is why a photo that looked perfect on your phone comes back cropped, and that has nothing to do with resolution.
So this guide covers both halves: the exact pixels you need for every common print size, and the shape mismatch between phone cameras and photo paper that quietly ruins more prints than low resolution ever has.
Photo print sizes in pixels: the full chart
These are the pixel dimensions at 300 DPI, the standard for prints you’ll hold in your hand:
|
Print size (inches) |
Pixels at 300 DPI |
Aspect ratio |
|
4 × 6 (most popular) |
1200 × 1800 |
3:2 |
|
5 × 7 |
1500 × 2100 |
7:5 |
|
8 × 10 |
2400 × 3000 |
5:4 |
|
8.5 × 11 (letter) |
2550 × 3300 |
17:22 (1.29:1) |
|
A4 (8.27 × 11.69) |
2481 × 3507 |
1:√2 (1.41:1) |
|
11 × 14 |
3300 × 4200 |
14:11 |
|
12 × 18 |
3600 × 5400 |
3:2 |
|
16 × 20 |
4800 × 6000 |
5:4 |
|
24 × 36 (poster) |
3600 × 5400 at 150 DPI |
3:2 |
The arithmetic is just inches × DPI, so 4 × 300 = 1200 and 6 × 300 = 1800. Which means you can work out any size not listed here in five seconds, and you don’t need a chart at all once you know the rule.
Two rows in that chart deserve a footnote. A4’s 1:√2 ratio isn’t an accident or a rounding: the ISO 216 paper standard defines it that way precisely so that cutting a sheet in half produces the same proportions again, which is why A5 is exactly half an A4 with no leftover strip. US Letter has no such logic behind it, landing at an awkward 1.29:1 that matches no camera and no other print size.
And that’s the wider point of the column. Those numbers change from row to row, and the inconsistency is the entire source of the problem in the next section.
The aspect ratio trap nobody warns you about
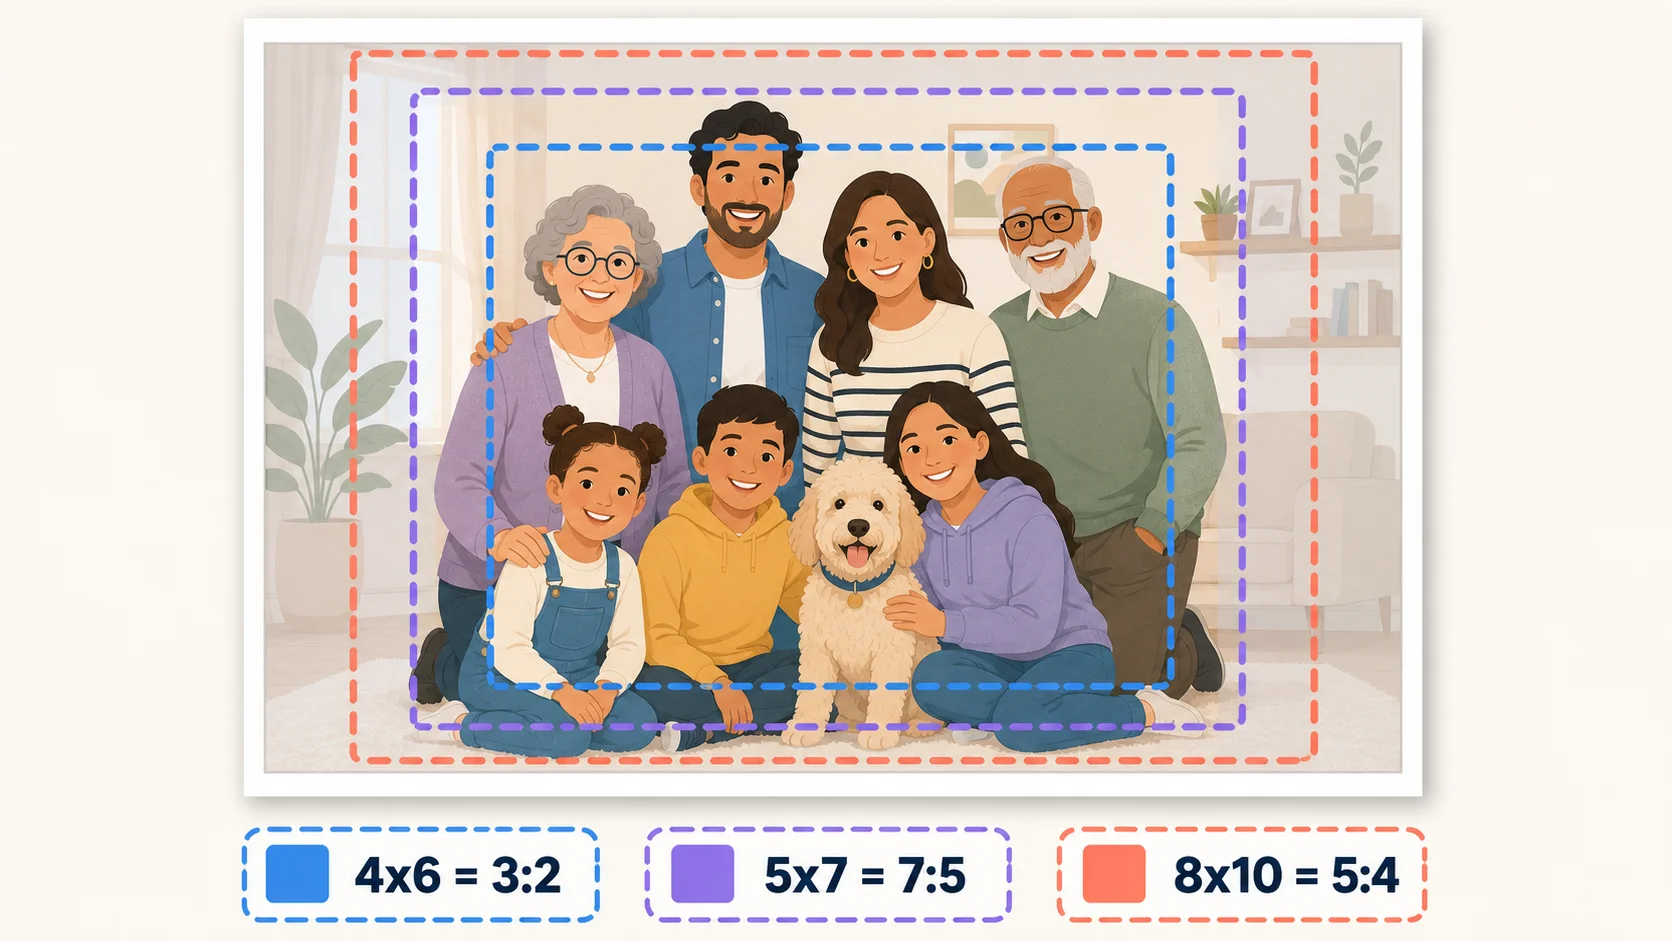
Here’s the thing that ruins prints. Most smartphones shoot 4:3 by default. The most popular print size, 4 × 6, is 3:2. Those shapes don’t match, so something has to be cut off, and the lab decides what unless you decide first.
Worse, print sizes don’t even agree with each other. A 4 × 6 is 3:2, a 5 × 7 is 7:5, an 8 × 10 is 5:4. Order the same photo in all three sizes and you’ll receive three different crops of it. That’s not an error, it’s geometry, and it explains why the 8 × 10 of a group photo lost the people on the ends while the 4 × 6 kept them.
Practically, this means one photo destined for three sizes needs three exports, each cropped to its own ratio. Tedious, but it’s the difference between prints you frame and prints you apologise for.
How much DPI you actually need
DPI (dots per inch) decides how much detail the printer packs into each inch of paper. The standard advice is 300, and for prints you hold, that’s right. But blanket-applying it to everything leads people to believe they can’t print large photos when they can.
- 300 DPI for anything viewed up close: photo prints, albums, cards, and prints up to roughly 16 × 20.
- 150 to 200 DPI for large prints viewed from a distance: posters, canvases, banners. At two metres away your eye can’t resolve the difference, which is why a poster needs far fewer pixels than its size suggests.
- 72 DPI is a screen-era myth for print purposes. It’s fine for web display, useless on paper.
One clarification worth having, since the terms get used interchangeably everywhere: DPI describes ink dots the printer lays down, while PPI describes pixels in your file. Photo labs and editing software have blurred the distinction to the point where asking for “300 DPI” universally means “300 pixels per inch of print,” so following the numbers above works regardless of which term your lab uses. If you want the technical distinction, the background on dots per inch covers where the two genuinely differ.
This viewing-distance logic is why a 24 × 36 poster only needs 3600 × 5400 pixels at 150 DPI, the same file that would print a perfect 12 × 18 at 300. Same pixels, double the size, and nobody notices because nobody presses their nose against a poster.
Working out your photo’s maximum print size
One division tells you everything: divide each pixel dimension by 300 for the largest print that stays sharp in the hand.
A 4000 × 3000 photo from a typical phone: 4000 ÷ 300 = 13.3 inches, 3000 ÷ 300 = 10 inches. So it prints beautifully up to about 13 × 10, comfortably covering 8 × 10 with room to crop. Divide by 150 instead and the same file stretches to roughly 26 × 20 as a poster.
What you cannot do is invent the pixels you don’t have. Enlarging a small file to hit a print target produces exactly the softness we covered in our guide to resizing without losing quality: AI upscaling can rescue a moderate shortfall, but a 600-pixel-wide image was never going to be a 16 × 20.
Preparing a file for the lab
Check the lab’s specs before ordering. A minute on their requirements page beats a reprint.
Start from the original. Not the version you sent through a messaging app, which was recompressed and downscaled on the way.
Crop to the print’s aspect ratio first. 3:2 for 4 × 6, 7:5 for 5 × 7, 5:4 for 8 × 10. Compose deliberately: this is where you decide what survives.
Resize to the pixel target from the chart, using the resizer so the numbers are exact rather than approximate.
Export as high-quality JPG at 90% or above. Print files are the one place to be generous with quality, since compression artifacts that hide on a screen become visible on paper.
Leave colour as sRGB unless your lab specifically requests otherwise. Most consumer labs expect it, and files in other colour spaces come back looking dull.
Crop and resize to exact print dimensions
Set the ratio, set the pixels, export print-ready. Free, in your browser.
Try the ArtsFlick ResizerWhy prints come back disappointing
Expecting a screenshot to print. Screenshots are sized for screens, typically well under print requirements, and no amount of upscaling fixes that.
Letting the lab crop for you. The single biggest cause of “why is my head cut off”. Crop before uploading, every time.
Printing a social media download. Images saved from Instagram or WhatsApp are heavily recompressed and often under 1080 pixels, which is a 3.6-inch print at best.
Over-compressing the upload. A file optimised for a fast website is the opposite of a file optimised for paper. Compression is for the web, not the lab.
Editing on an uncalibrated bright screen. Photos edited on a screen at full brightness routinely print darker than expected. If prints look consistently muddy, lower your screen brightness before editing rather than blaming the lab.