Add Icons to Photos Online Free
Add icons to photos in a few clicks. Search a library of open-source icons by keyword, place one on your image, then resize, rotate and recolour it until it fits. Arrows to point at something, stars and hearts for decoration, simple symbols to label a picture.
Icons stay sharp while you resize them on the canvas, and the finished photo downloads as PNG or JPEG with no ArtsFlick watermark.

Drag or click to upload images to start editing.


How to Add Icons to Photos Online
1. Upload your photo
Choose the image you want to edit and upload it to ArtsFlick's online photo editor. JPEG and PNG files are supported and no sign-up is required.
2. Open the Icons menu
Click the Icons button in the left side menu to open the icon library.
3. Select an icon category
Pick a category to browse, or skip straight to the search bar if you already know what you want.
4. Find and choose an icon
Search by keyword, such as arrow, star or heart, then click an icon to place it on the canvas.
5. Resize, recolour and position it
Drag the corner handles to resize, choose a colour that stands out against the photo, and move the icon into place.
6. Download your photo
Save the result as PNG or JPEG. The download is a flat image at your canvas size, so set the canvas to the size you need before exporting.
Icons, Text and Shapes on One Canvas
An icon is rarely the only thing a photo needs. The same canvas holds text, shapes, emoji and freehand drawing, each on its own layer, so you can put an icon beside a caption or inside a shape without switching tools. Nothing to install, no account needed.
Make an Icon Look Like It Belongs
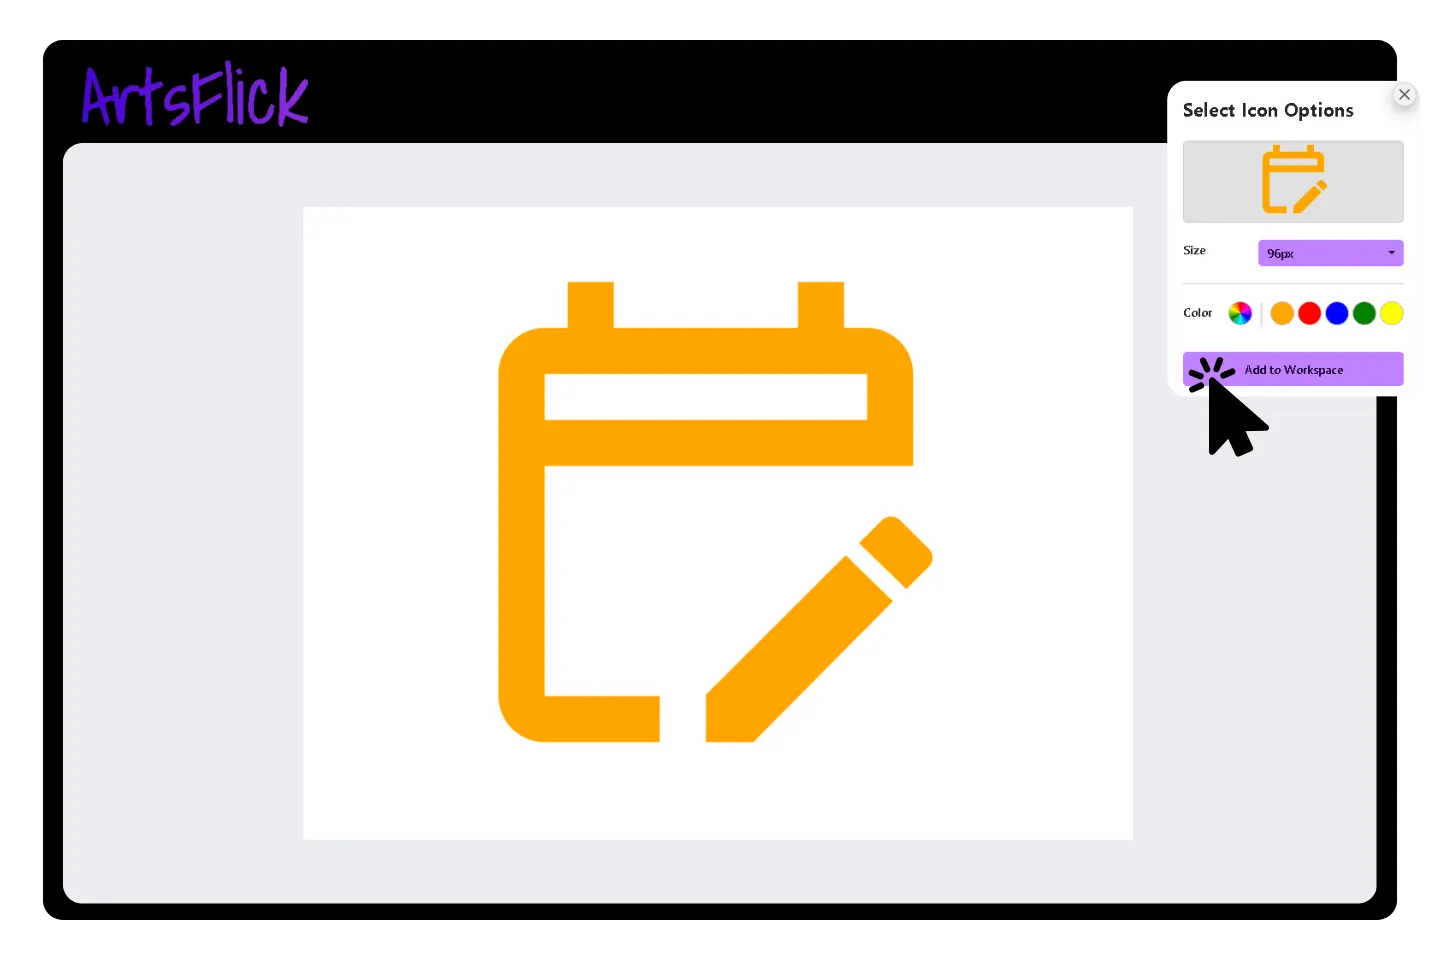
An icon dropped onto a photo at its default size and colour usually looks stuck on. Three adjustments fix most of that. Size it against the subject rather than the frame, so it reads as a label instead of a logo. Pick its colour from something already in the photo if you want it to blend, or a clear contrast if you want it to point. And rotate it slightly if everything else in the picture sits at an angle.
All three are done directly on the canvas in the online photo editor drag the corner handles to resize, use the rotation handle to angle it, and pick a new colour from the icon's settings.
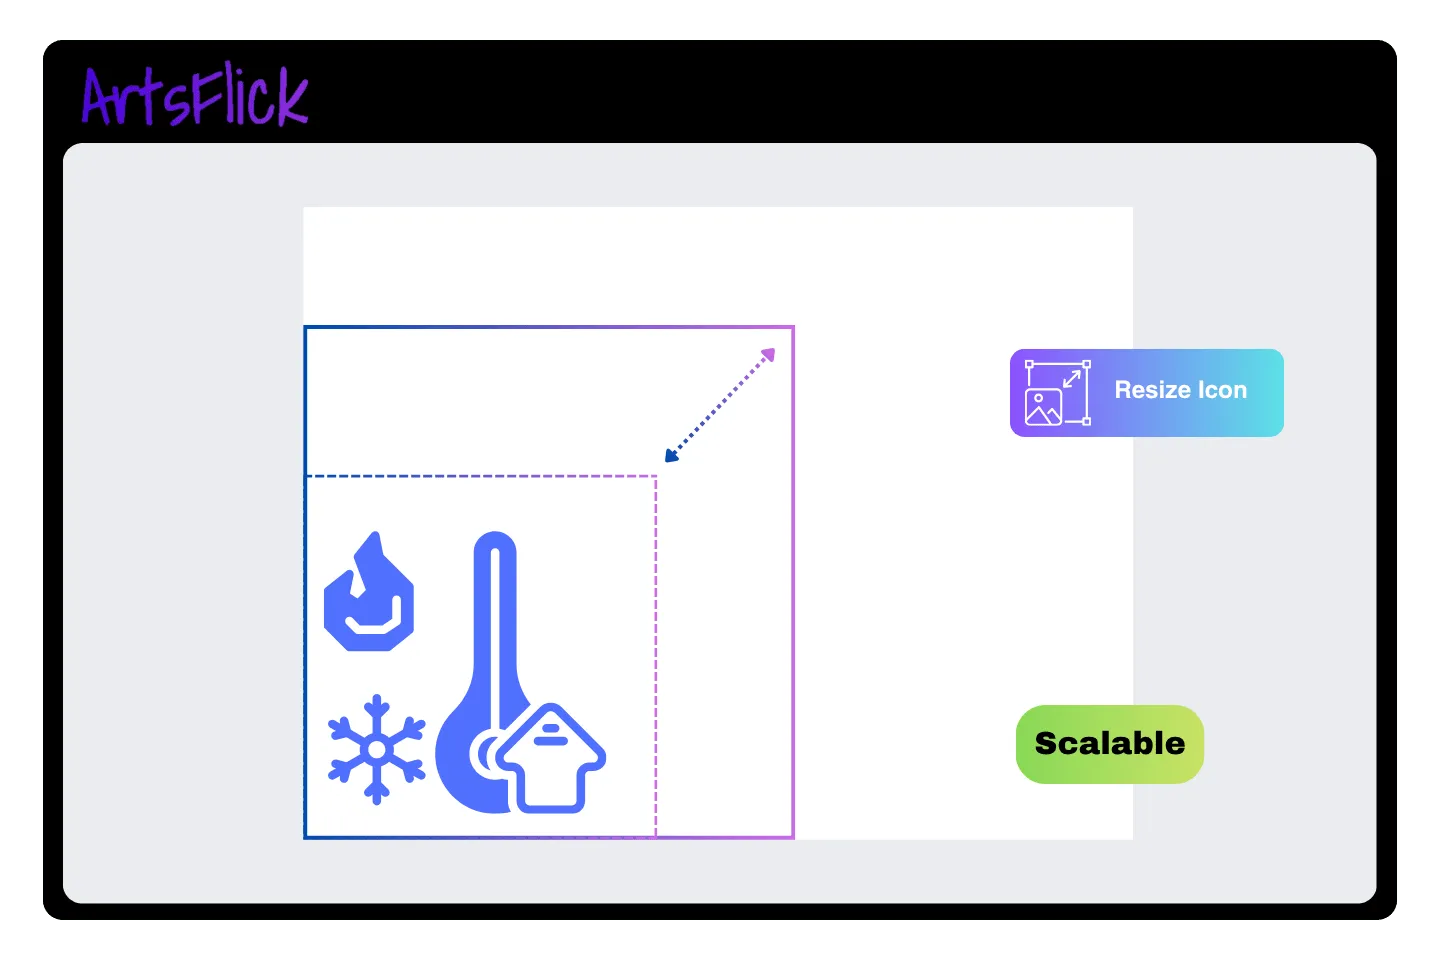
Icons Stay Sharp While You Resize Them
Icons are vectors while they are on the canvas. They are described as shapes rather than pixels, so the editor redraws them cleanly at whatever size you drag them to, with no blur at any scale.
The downloaded file works differently, and it is worth knowing before you export. The download is a flat PNG or JPEG at your canvas size, and at that point the icon becomes pixels like everything else. An icon that looks crisp in the editor will soften if you export it small and enlarge it somewhere else later. Set the canvas to the final size you need first, and the icon will be sharp at that size. Our guide to resizing without losing quality explains why enlarging a finished image behaves this way.

Turn a Picture Into an Icon
Sometimes the icon you need is one of your own photos: a profile picture, an app icon, a small image for a website tab. That is a crop and a resize rather than anything from the icon library.
Crop the picture to a square around the subject with the crop tool, resize it to the size the icon needs, and download as PNG. Common targets are around 400 pixels for a profile picture, 512 or 1024 for an app icon, and 32 or 48 for a small website icon. The last of those is where most photos fail: detail disappears at 32 pixels, so a single bold subject against a plain background survives where a busy scene turns to noise. If you want a round icon, our guide to cropping an image into a circle covers the transparent corners.

A Free Library of Open-Source Icons
The icons in the online photo editor come from open-source icon sets made by designers who publish their work for others to use. Browse by category, or search by what the icon shows: arrow, star, location pin, shopping cart. Searching by meaning is usually faster than browsing, because the same idea is drawn in several different styles across the sets.
Open source does not mean unconditional. Each set carries its own license, and some ask you to credit the author if you use their icons commercially. The FAQ below explains what that means in practice.
Download as PNG or JPEG
The finished image downloads from the online photo editor as PNG or JPEG. Which one depends on what is underneath the icon.
Choose PNG if the icon sits on a transparent or flat-colour background, or if you want to keep editing later. PNG compression is lossless, so the icon's hard edges stay clean. Choose JPEG if the icon is on a photograph that is going straight to social media, where the smaller file matters more than a slight softening at the icon's edges. SVG download is not currently available. Our comparison of PNG, JPG and WebP covers the trade-off in more depth.
Why Choose ArtsFlick’s Icons?
Edit Icons Right in the Browser
There is no design software to install. Drag an icon onto the photo, then resize, rotate and recolour it on the canvas and see the change immediately. Each icon sits on its own layer, so you can move it or delete it later without disturbing anything else.
Open-Source Icons, With Licenses Worth Knowing
The library is built from open-source icon sets published by independent designers and projects. Every set is free to use, and each carries its own license. Some are released under a Creative Commons Attribution license, which allows commercial use as long as you credit the author. For a social post that rarely matters. For a logo or a product you sell, check the license first.
PNG or JPEG Downloads
The finished image downloads as PNG or JPEG. PNG keeps a transparent background and clean edges; JPEG gives a smaller file for photos headed to social media. SVG download is not currently available.
Sharp on the Canvas at Any Size
Icons are vectors while you edit, so resizing them in the editor never blurs them. The download is a flat image at your canvas size, so set the canvas to the size you actually need before exporting rather than enlarging the file afterwards.
Recolour, Resize, Rotate and Layer
Those four controls cover almost everything an icon on a photo needs. Colour decides whether it blends in or stands out, size decides whether it reads as a label or a centrepiece, and layer order decides what sits on top when an icon overlaps text or a shape.
Works on Any Device With a Browser
The editor runs in the browser on a laptop, tablet or phone, with nothing to install. On a phone, zoom in before positioning small icons precisely, since a slight misplacement is invisible at phone size and obvious on a larger screen later.