How to Convert PNG to JPG (Without Ruining Your Image)
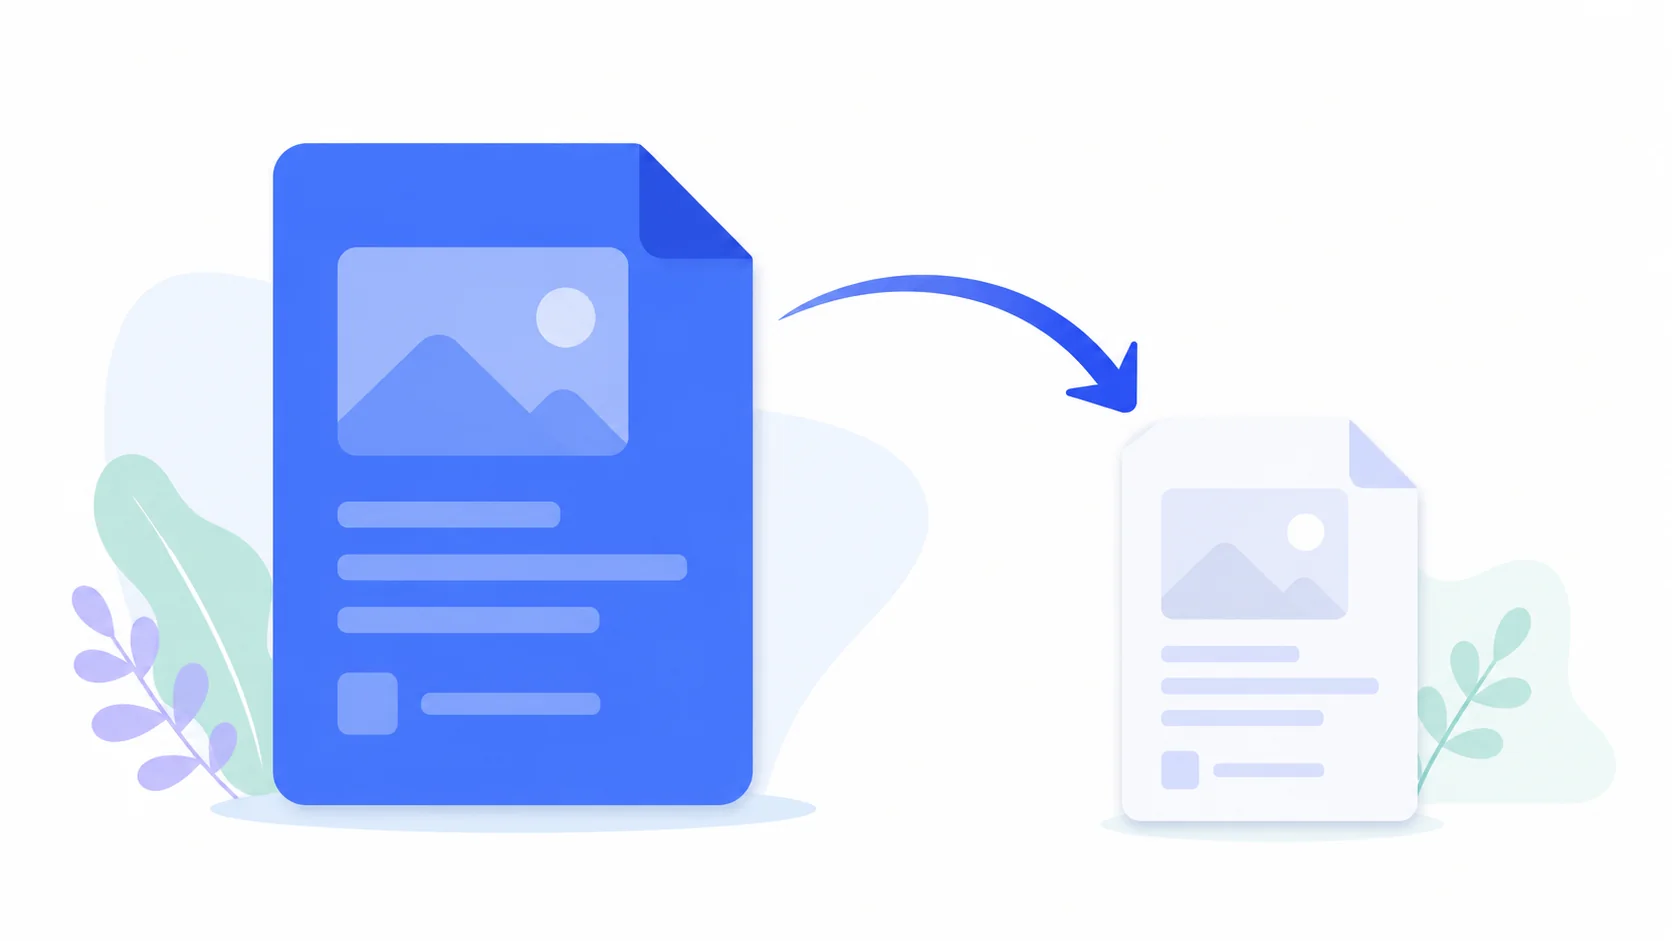
Need to convert PNG to JPG? The conversion itself takes seconds on any device, and we’ll cover every method below. But two things decide whether the result looks right: the quality setting you export at, and what happens to transparency, which JPG doesn’t support and which quietly turns into a black or white box if you don’t handle it.
This tutorial walks through the fast way, the built-in way on Windows, Mac, and iPhone, and the two traps that catch people. It also covers the part most converter sites skip: the cases where converting is the wrong move and keeping the PNG will save you a headache later.
The 30-second method (any device with a browser)
- Open the ArtsFlick PNG to JPG converter.
- Drop in your PNG (or tap to pick it from your phone’s gallery).
- If your PNG has transparency, choose the background color to fill it with. White suits most documents and listings; match your page color for web use.
- Set quality to 80–85% for photos, higher for graphics you must keep crisp.
- Download the JPG. Your original PNG stays untouched on your device.
That’s the whole job for most cases. The rest of this guide is the understanding that keeps the result clean, plus the offline methods when you’d rather not use a browser.
Why convert at all? The three real reasons
PNG and JPG are good at different things, which we compared in depth in our PNG vs JPG vs WebP guide. Conversion makes sense in three situations:
- File size. A photographic PNG is often 5 to 10 times heavier than a visually identical JPG. Converting a 4 MB PNG screenshot into a 400 KB JPG makes it emailable and web-friendly.
- Compatibility. Some upload forms, marketplaces, and older software accept only JPG. It is the one format that works absolutely everywhere.
- Storage. A folder of PNG screenshots eats disk space fast. Batch-converting the ones you keep for reference (not for editing) claws most of it back.
Notice what’s not on the list: quality. Converting never makes an image look better, which brings us to what it actually does.
What happens to quality when you convert PNG to JPG
PNG is lossless; JPG is lossy. The moment you make the conversion, the image goes through its first lossy compression pass: fine detail your eye barely registers gets discarded to shrink the file. At a sensible quality setting this is invisible at normal viewing sizes. At a low setting you get muddy, blocky patches, especially around text and sharp edges.
The setting that controls the trade-off is the quality slider:
|
Quality setting |
Result |
Use when |
|
90–100% |
Near-identical, larger file |
Graphics with text, one-time archives |
|
80–85% |
Visually clean, big size savings |
Photos and screenshots (the default) |
|
60–75% |
Small files, artifacts start showing |
Thumbnails, previews |
|
Below 60% |
Visible blocks and smudging |
Almost never |
The transparency trap (why backgrounds turn black or white)
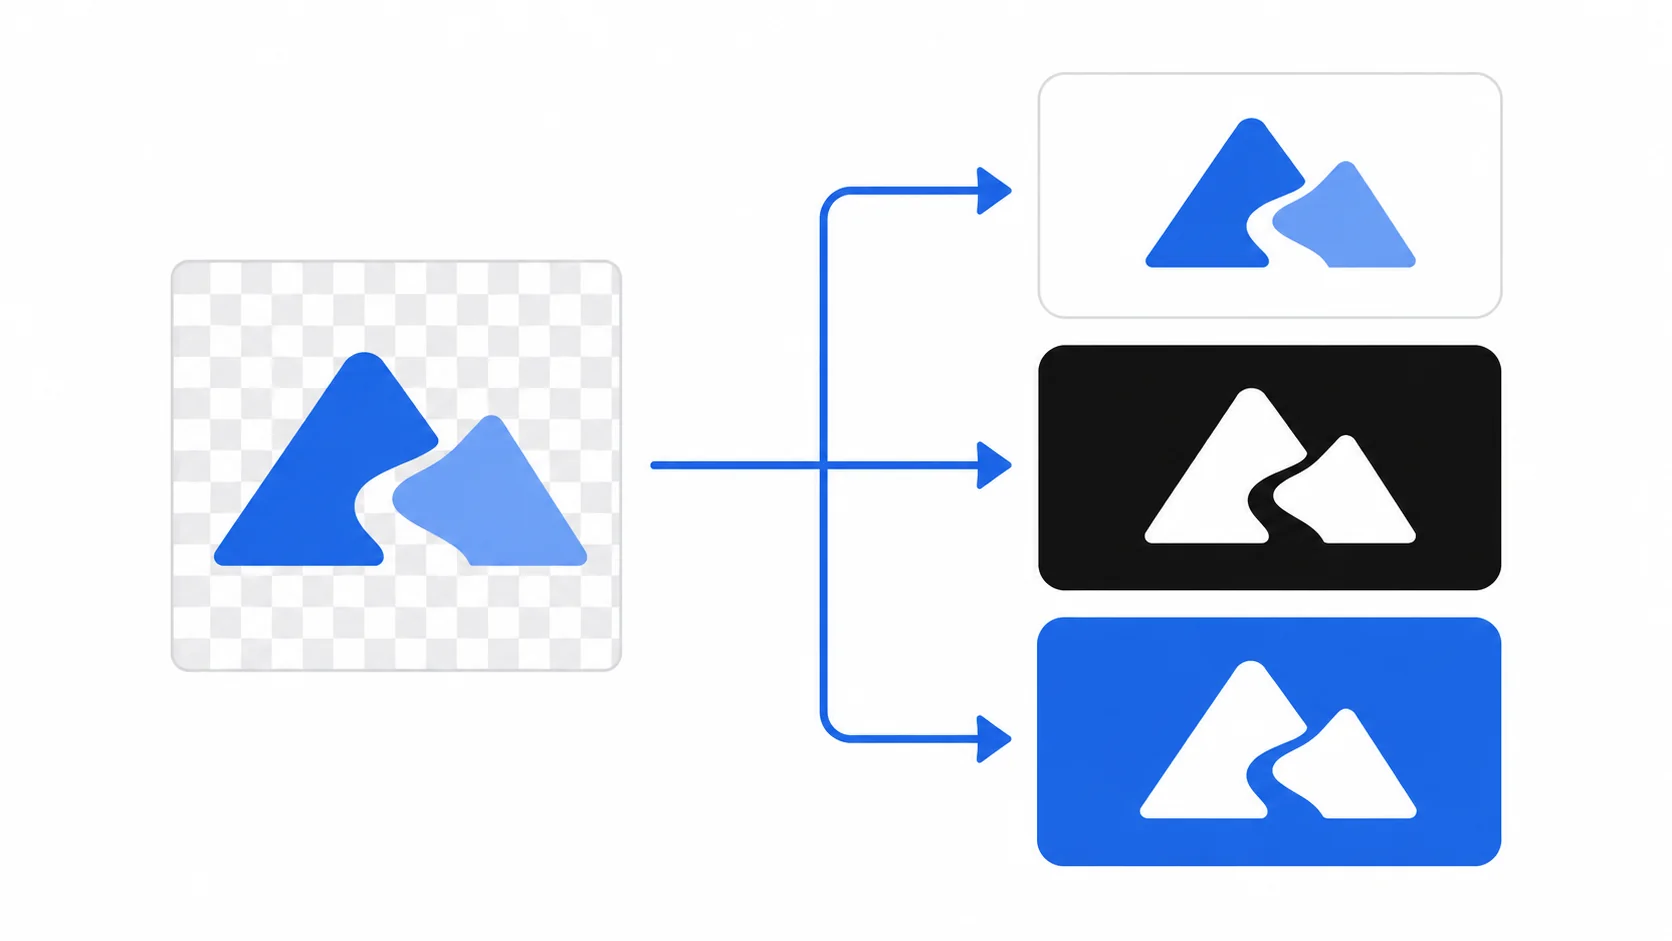
This is the number one surprise when converting. JPG has no alpha channel, so transparent areas cannot stay transparent. Something has to fill them, and if you don’t choose what, the converter chooses for you: some fill with white, some with black, and some produce whatever bytes happened to sit in the hidden color channels, which is why the same logo can come out with different backgrounds from different tools.
The fix is simply to decide the background yourself before exporting. Converting a logo for a document? Fill with white. For a dark presentation slide? Fill with the slide color. Our converter shows the fill color option whenever it detects transparency, so the choice is explicit instead of accidental.
And if the transparency itself is the point, don’t convert to JPG at all. A logo that needs to sit on any background should stay PNG (or WebP for the web). If you have a JPG that needs its background removed, that’s the reverse trip: convert the JPG to PNG first, then edit.
Converting on Windows, Mac, and iPhone (no install, no upload)
Prefer to stay offline? Every major platform has a built-in way.
Windows
Right-click the PNG, choose Open with → Paint, then File → Save as → JPEG picture. Paint fills transparency with white and doesn’t offer a quality slider, which is fine for quick jobs and limiting for anything else.
Mac
Open the PNG in Preview, then File → Export, set Format to JPEG, and drag the Quality slider. Preview is the most capable of the built-in options; the quality slider maps roughly to the table above.
iPhone and iPad
In the Files app, long-press the PNG and choose Quick Actions → Convert Image, then pick JPEG and a size. For photos in your camera roll, sharing to Files first is the quickest route. (Screenshots are PNGs, which is why they fill storage so fast.)
What the built-ins lack: batch conversion, transparency fill control, and a visible before/after of the file size. That last one matters more than it sounds. Seeing “4.2 MB → 380 KB” before you commit tells you instantly whether your quality setting is doing its job, and whether the conversion was worth it at all. When you’re prepping a dozen screenshots for a support doc or a batch of product photos for a listing, doing them one at a time in Paint gets old by the third file. That’s the gap a browser tool covers, no installation needed.
Convert PNG to JPG in your browser, free
Pick the quality, choose the transparency fill, see the new file size before you download.
Try the ArtsFlick ConverterWhen you should keep the PNG instead
An honest tutorial includes the cases where the answer is “don’t”. Keep the PNG when:
- You’ll edit the image again. Every JPG re-save compounds quality loss. Edit the PNG, export a fresh JPG each time you need one.
- Transparency matters. Logos, icons, cutouts. JPG flattens them permanently.
- It’s a graphic with fine text. Screenshots of interfaces and diagrams stay crisper as PNG; JPG compression smudges letter edges first.
- It’s headed for your website. Skip JPG and go straight to WebP, which is smaller at the same quality. Our format comparison covers when each wins.
For the curious, MDN’s image file type guide documents exactly what each format can and can’t hold.
Mistakes to avoid
- Converting your only copy. Convert a duplicate. The PNG is your lossless master; treat it like a negative.
- Exporting at 100% “to be safe”. You get JPG’s downsides with barely any size benefit. 80–85% is the honest sweet spot for photos.
- Ignoring the transparency fill. A logo on an accidental black box in a client document is this mistake in the wild.
- Converting, editing, re-saving, repeating. Generational loss stacks. One conversion at the end of the workflow, not in the middle.
- Converting for quality reasons. Direction matters: PNG to JPG trades quality for size. If you want a sharper image, you need upscaling, not conversion.