How to Compress Images for Web Pages That Load Fast

Learning to compress images for web pages is the single highest-leverage speed fix most sites have available, and the numbers back that up bluntly: images make up 48% of the weight of a median page, and they’re the largest element (the thing Google’s speed metrics time) on roughly 85% of desktop pages. When a site fails Core Web Vitals, an oversized image is usually the reason.
What most guides won’t tell you is the part you actually need: how many kilobytes to aim for. “Compress your images” without a target is like “drive slower” without a speed limit. This guide gives you the targets, the three-step order that gets you there, and the way to verify it worked.
Images are why your page is slow (the math)
Google’s headline speed metric, Largest Contentful Paint, times how long the biggest visible element takes to appear, and wants it under 2.5 seconds. On most pages, that element is an image. The arithmetic is unforgiving on mobile: a 500 KB hero image takes about 1.2 seconds just to download on a typical 4G connection. A 100 KB version of the same image: around a quarter second. That one file is often the whole difference between passing and failing.
And failing matters beyond pride: Core Web Vitals feed Google’s ranking systems, and slow pages leak visitors before the content ever renders. The good news hiding in that 48% statistic is that no other optimization on your site has this much slack to reclaim.
The three levers (compression is only one of them)
File size is the product of three decisions, and pulling one lever while ignoring the others wastes most of the win:
- Dimensions. An image displayed at 800 px wide but uploaded at 4000 px sends sixteen times the pixels anyone sees. Resize to display size first; our resizing guide covers doing it without quality loss.
- Format. The same photo as WebP is typically 25–35% smaller than as JPG at equal visual quality; AVIF pushes further where your pipeline supports it. The format comparison covers when each wins, and converting takes seconds.
- Compression. The quality slider. For photos, quality around 75–85 is where files shrink dramatically before differences become visible: a typical 800 KB hero re-encoded at quality 75 lands near 320–450 KB on its own.
Real-world testing shows the pattern clearly: compression alone barely scrapes a passing grade, while resize plus format plus compression together move a page from “needs improvement” to solidly good. All three, always, in that order.
How small is small enough: the KB targets
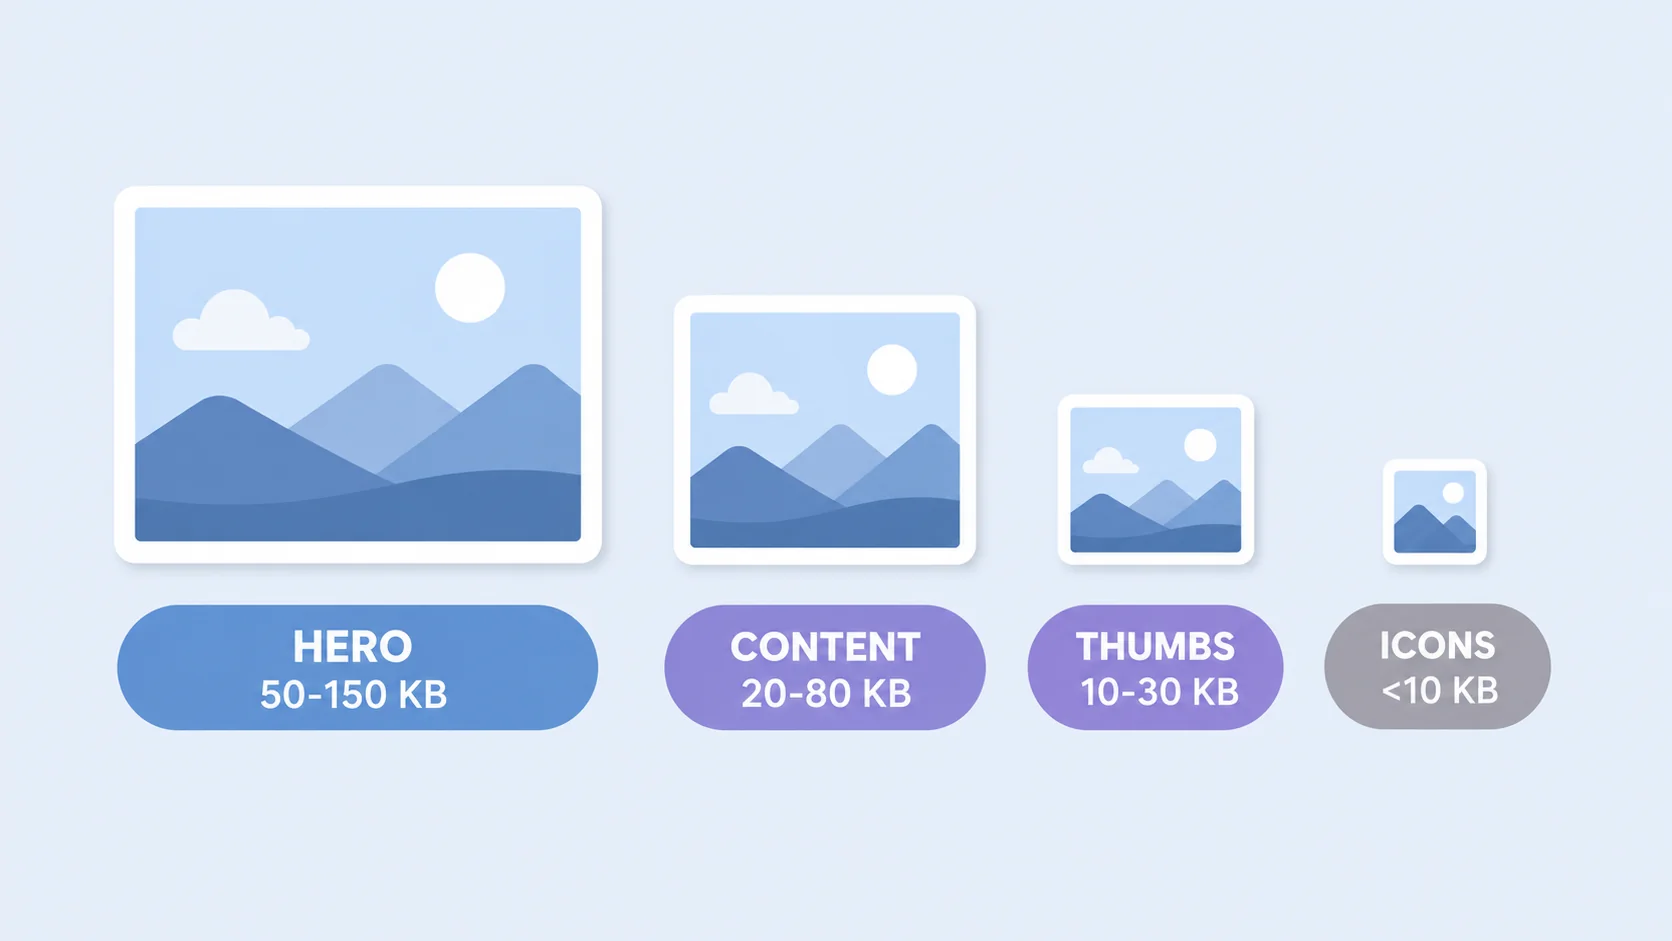
Aim your exports at these numbers, current best practice for image-heavy pages in 2026:
|
Image role |
Target size |
Notes |
|
Hero / banner (the LCP image) |
50–150 KB |
The one that decides your score; WebP or AVIF |
|
In-content images |
20–80 KB |
Lazy-load them; set width/height in markup |
|
Thumbnails / cards |
10–30 KB |
Small display size forgives strong compression |
|
Logos / icons |
Under 10 KB |
SVG when possible; it’s usually smaller AND sharper |
How to compress images for web: the right order
- Resize to display size. Check the largest width the image actually renders at (inspect it in your browser), and resize to that, or double it for retina screens. This is where the biggest savings hide.
- Pick the right format. Photos to WebP (or quality JPG where compatibility demands); graphics with sharp edges to PNG or SVG. Wrong format makes every later step fight uphill.
- Compress to target. Drop the quality slider until you approach the table above, checking at 100% zoom as you go. In the ArtsFlick compressor you see the output size before downloading, so you’re steering toward a number instead of guessing.
Then keep the original. Compress a copy, publish the copy, archive the master, the same non-negotiable rule as every lossy workflow.
Compress to a number, not a guess
Drop an image in, watch the size fall, download when it hits target. Free, in your browser.
Try the ArtsFlick Image CompressorThe markup half: four attributes that cost nothing
Perfectly compressed files can still load slowly if the HTML around them fights the browser. Four attributes finish the job, and none of them touch the image itself:
- loading=”lazy” on every image below the first screen. The browser skips downloading them until the visitor scrolls near, which is free bandwidth on every page view. Never lazy-load the hero, though; that delays the exact image your score times.
- width and height attributes on every image. The browser reserves the space before the file arrives, which prevents the page from jumping as images pop in (that jumping is the CLS metric, and images are its main cause).
- srcset with two or three sizes lets phones download the small version and desktops the large one, instead of everyone paying for the biggest.
- fetchpriority=”high” on the hero image tells the browser to fetch it first rather than discovering its importance late.
If you publish through WordPress, it handles lazy-loading and srcset automatically for images inserted normally, which is one more reason to upload files at sane sizes and let the platform do the plumbing.
Check your work (two minutes)
Compression without measurement is faith. Run your page through PageSpeed Insights: it names your LCP element directly, so you know exactly which image is the one that matters, and flags any others still oversized under “Improve image delivery”. Fix what it names, re-run, watch the LCP number move. On an image-heavy page, going from unoptimized to the targets above routinely takes seconds off mobile load time, and you’ll see it in the report the same day. One reading note: the report’s “field data” section reflects real visitors over the past month, so it lags your fixes; the lab score at the top updates immediately and is the one to watch while iterating.
Mistakes to avoid
- Compressing without resizing first. A 4000 px image at quality 60 is still enormous, and now it’s ugly too. Dimensions first, always.
- One quality setting for everything. A hero image deserves more bits than a card thumbnail. Match effort to role, per the table.
- Re-compressing already-compressed files. Second passes stack artifacts for minor savings. One deliberate pass from the original beats three panicked ones.
- Forgetting the featured/social image. It renders on every card and share preview; an oversized one slows every page that lists the post.
- Uploading at “maximum quality to be safe”. Quality 100 is roughly double the file of quality 85 with no visible difference at web sizes. Safety is a myth here; weight is real.